Hello and welcome to my portfolio site! I’m Terri, an illustrator, picture book maker and graphic designer living in Verona, WI. I’m obsessed with drawing, especially themes in nature. I love storytelling, illustrating animals and silly characters with watercolor and colored pencils. Let me know if you like what you see and want to work together!
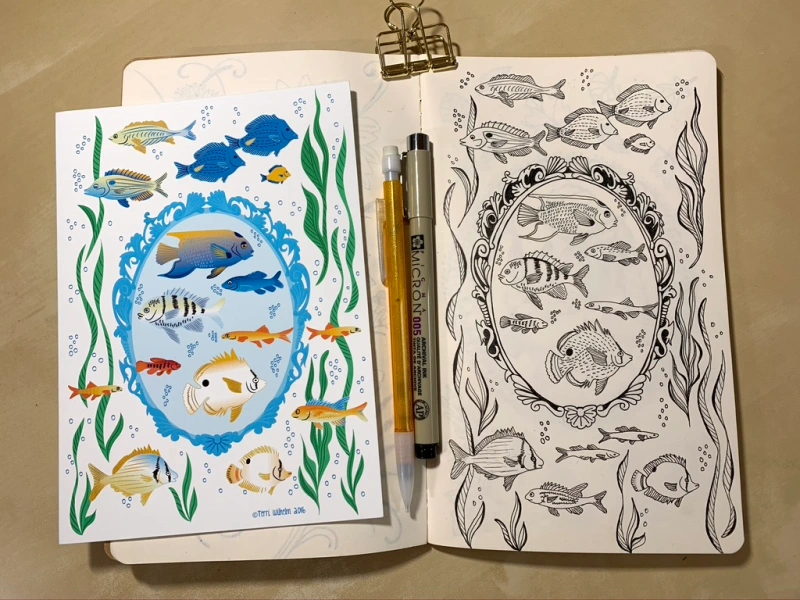
Here are samples of the type of art I love to create and my illustration style.
A to Z Animal Zine, single sheet of paper, folded and cut into a snake book


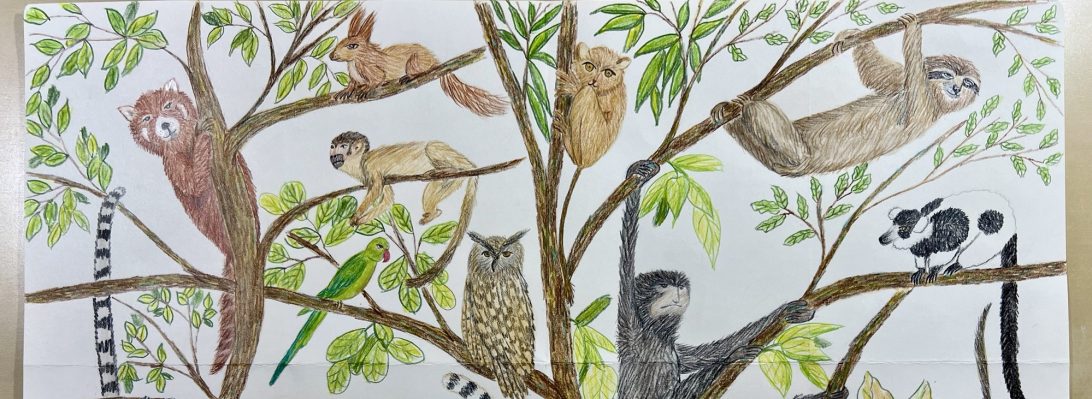
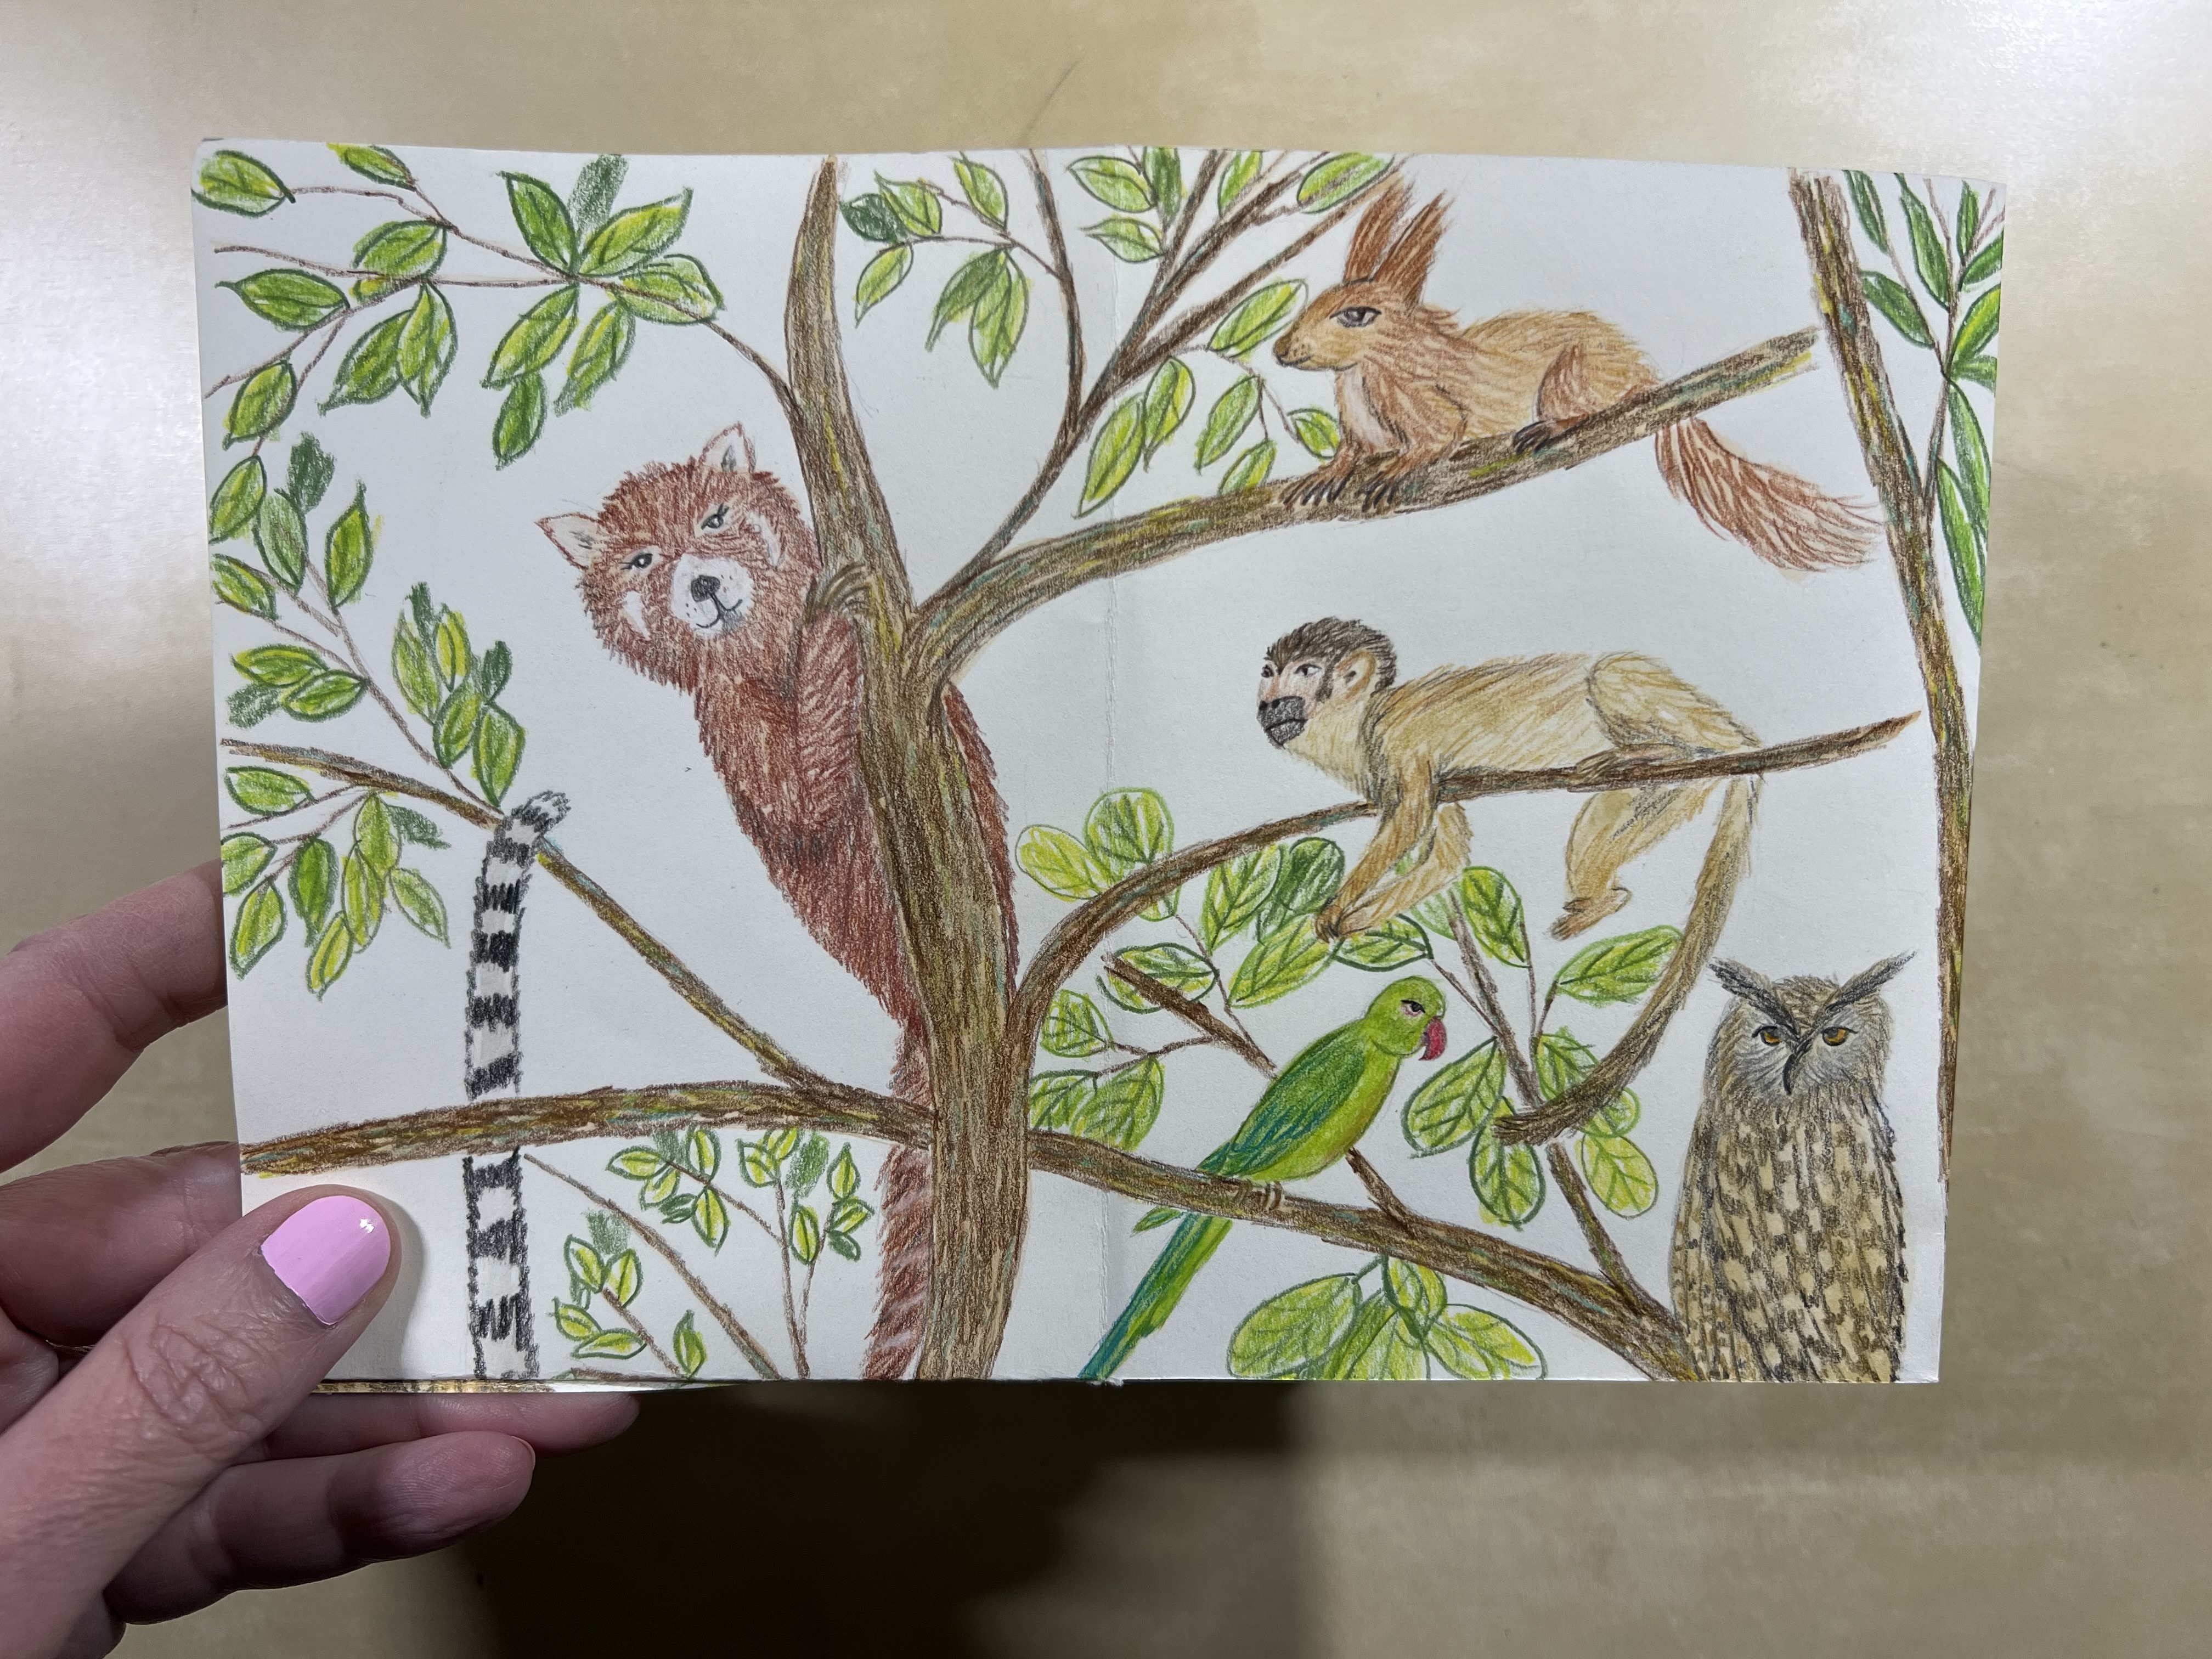
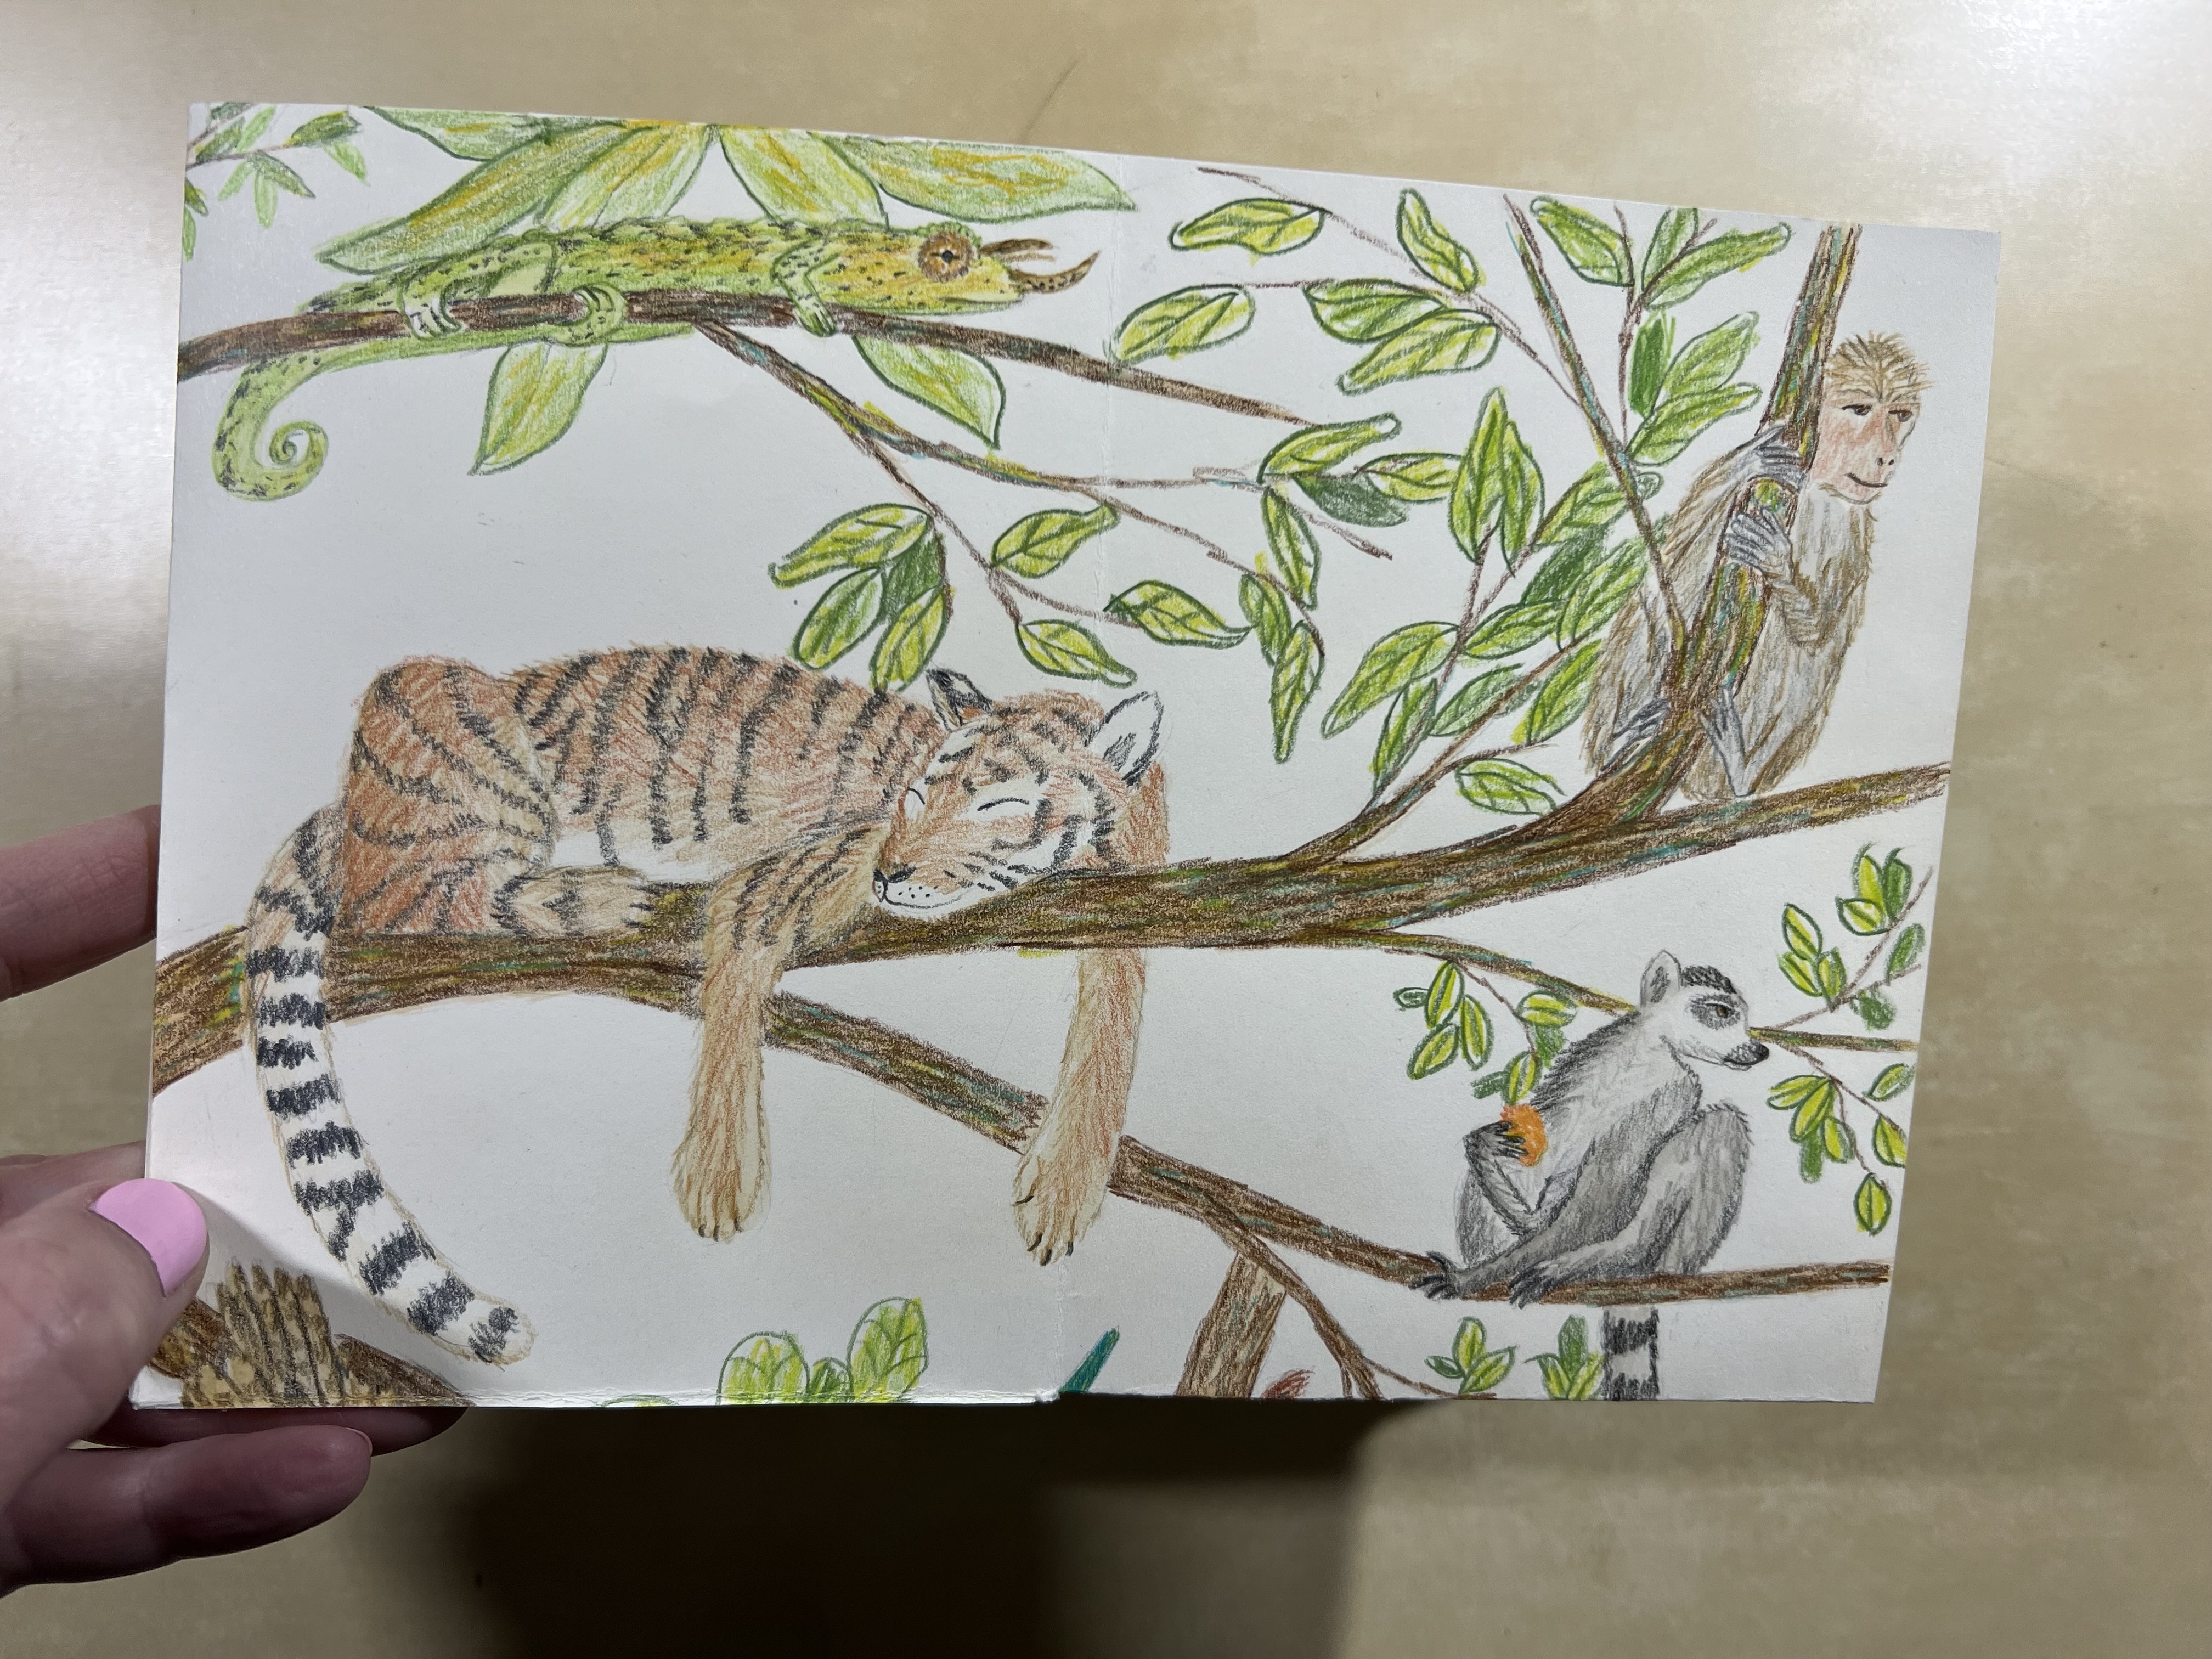
Tree of Life Animal Zine, single sheet of paper that folds into a booklet. Both of these zines, above and below, would be such cool posters or printed material for a zoo!


Lost at Sea, a short story about a polar bear who gets lost at sea and his firefox friend finds him. (I wrote the words so email me if you would like to see a mock-up.)

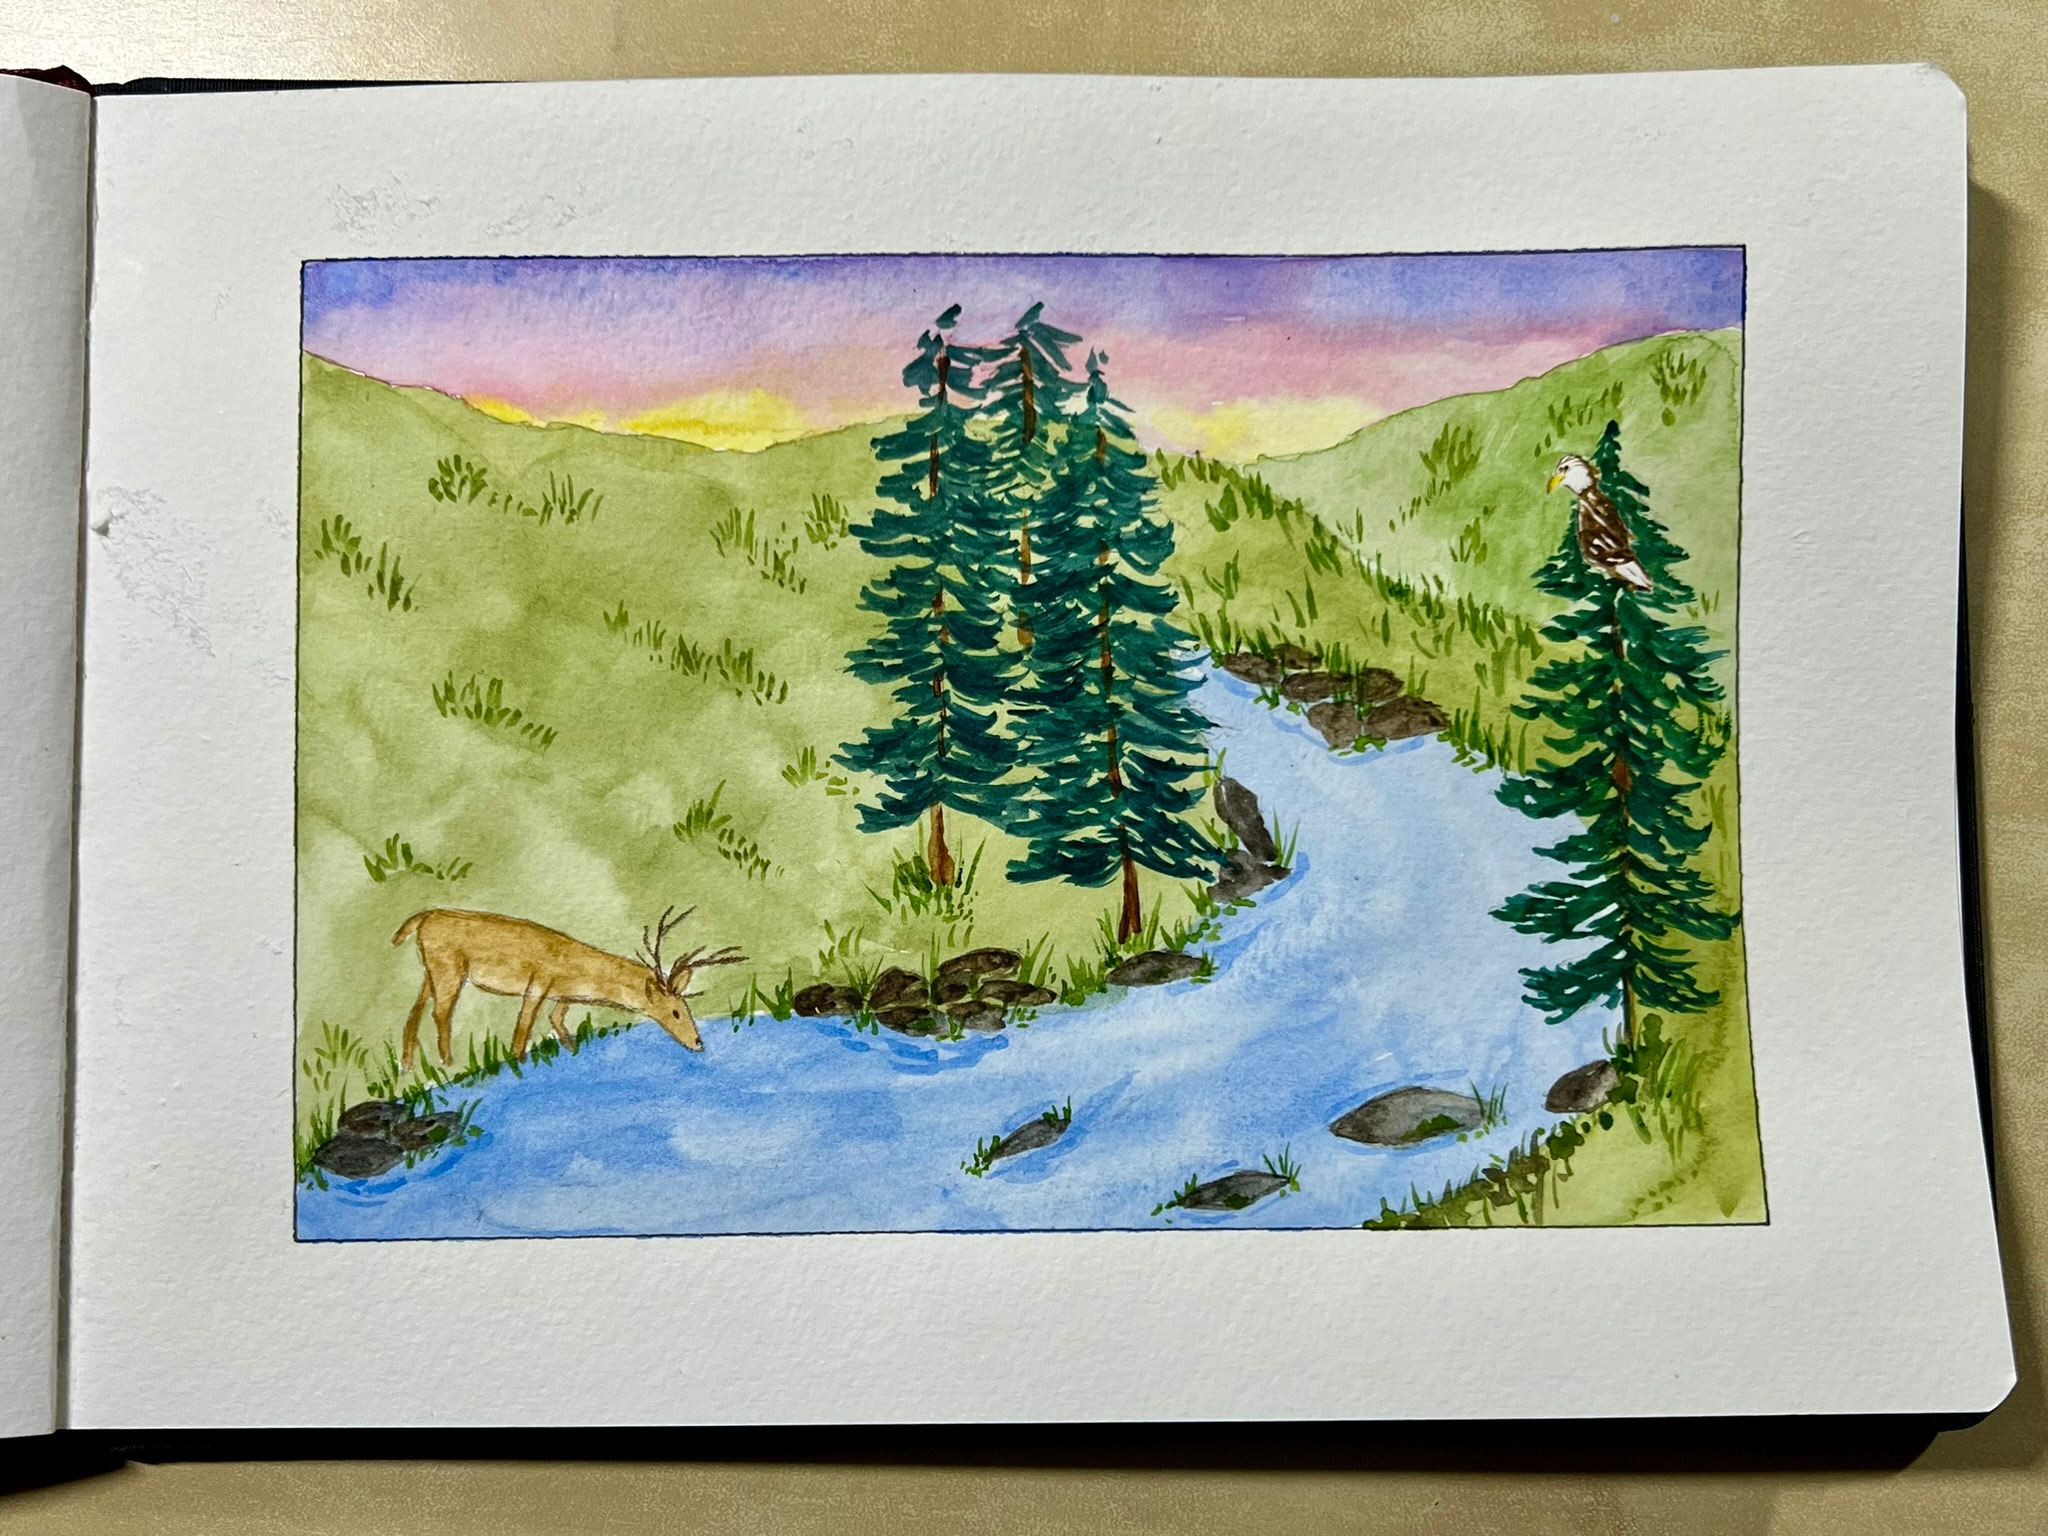
Deer at the Creek series


Check out my sketchbook pages to see more.
When I’m not dreaming up stories to tell, you will find me hiking the trails, beachcombing or hanging out in my hammock.


Check out my Instagram!


Below are more categories of samples of my artwork to explore.